As I posted earlier, Microsoft has released Azure Active Directory Connect version 2.0.3, which now requires Windows Server 2016 or later. Customers running AAD Connect on Windows Server 2012 or Windows Server 2012 R2 will need to install a new copy of AADC on new Windows Server 2016 computer or later.
In this walk-through I will show you how to do this and migrate all your current settings to the new Windows 2016 server. These same steps can be used whenever you wish to move AADC to a new server.
The high-level steps are:
- Export the existing AAD Connect configuration from the current server.
- Install the latest version of AADC on a new or existing Windows Server 2016 computer.
- Import the AADC configuration, put it into staging mode, and sync.
- Uninstall AADC from the old server.
- Remove the new server from staging mode.
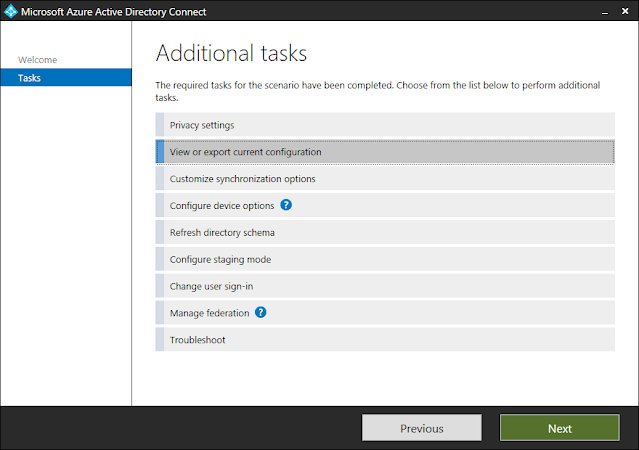
Begin by exporting the AADC configuration on the current server. Open
Azure AD Connect and select
View or export current configuration.
 |
| Select View or export current configuration and click Next |
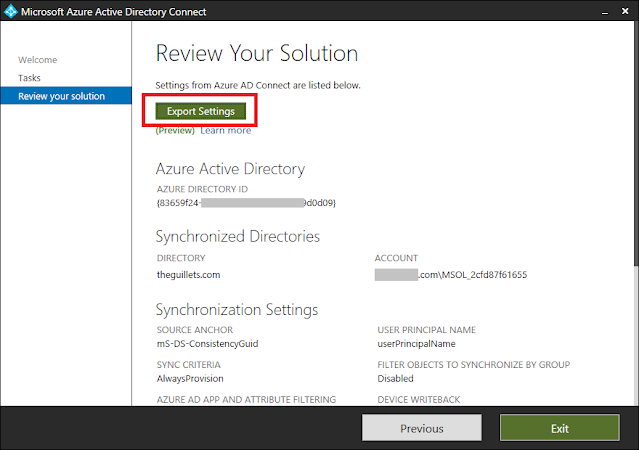 |
| Click the Export Settings button |
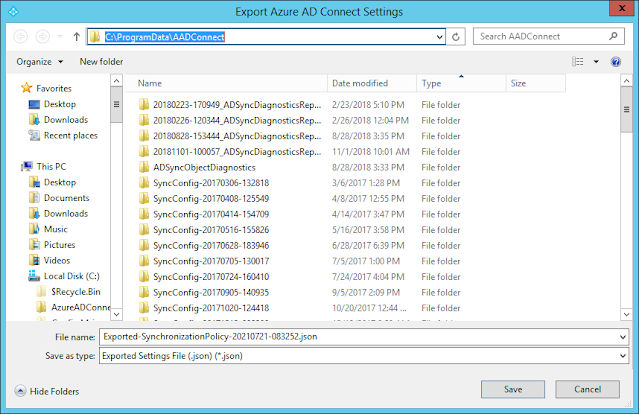 |
The settings will be exported as a single JSON file in C:\ProgramData\AADConnect by default.
Copy this file to the new AAD Connect server. |
Now login to the Windows Server 2016 or later computer where you want to install AADC. This can be either a new or existing domain-joined server.
Download the latest version of AAD Connect from https://www.microsoft.com/en-us/download/details.aspx?id=47594 and install it.
 |
| Start the AADC installer. |
 |
| Select Customize since we're going to import the existing config. |
 |
Check Import synchronization settings and browse to the JSON file you copied from the old server.
Click Install to begin the installation. |
 |
| The installer will walk you through setup using the existing config, similar to a manual upgrade. |
 |
| Make sure Enable staging mode is checked, then click Install. |
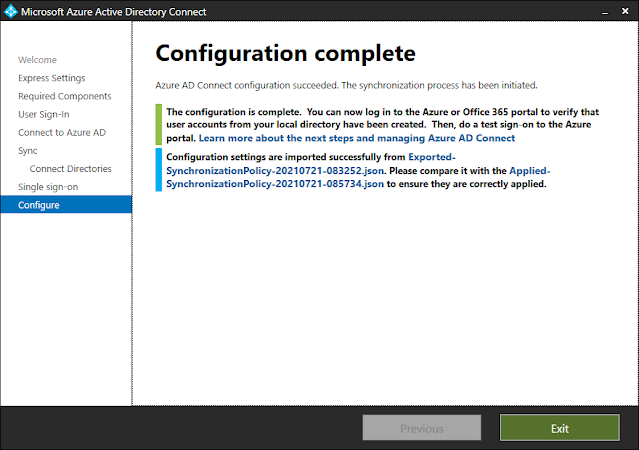 |
| Installation will take a few minutes to complete and should look like this. Click Exit. |
 |
| Open Computer Management on the new server and add the domain's Enterprise Admins group to the local ADSyncAdmins group so they can manage AAD Connect. Log off and back on to get the new management permissions. |
 |
| You will notice that the two Azure AD Connect Health Sync services and the Microsoft Azure AD Sync service are now installed and running on the new server. |
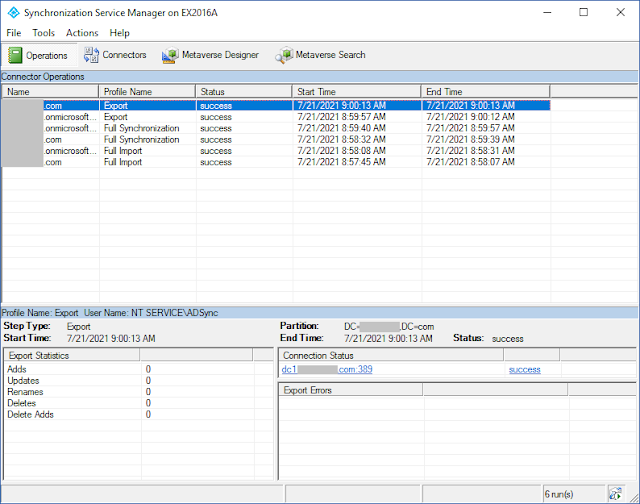 |
| Open the Synchronization Service Manager client located at "C:\Program Files\Microsoft Azure AD Sync\UIShell\miisclient.exe". You will see that the initial full sync occured on the new server. |
Now you're ready to complete the AAD Connect migration by uninstalling AADC from the old server and disabling staging mode on the new server.
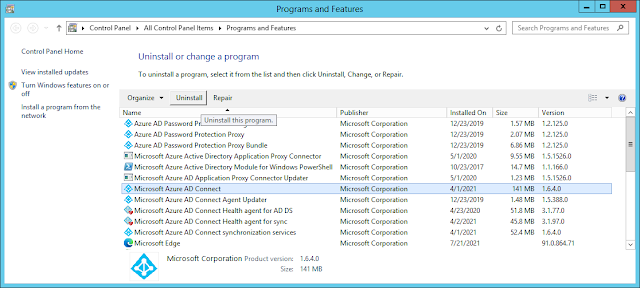 |
| Login to the old AADC server, open Programs and Features, and uninstall Microsoft Azure AD Connect. |
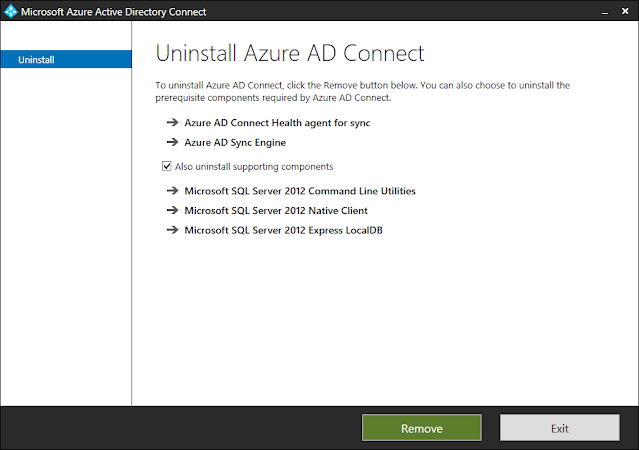 |
| Make sure to check "Also uninstall supporting components" and click Remove. |
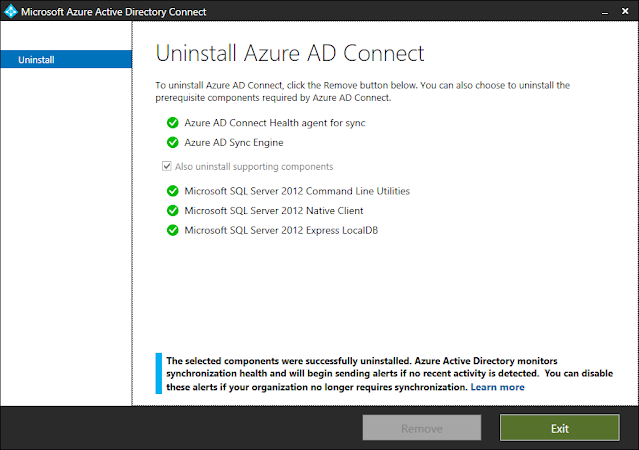 |
| AADC is successfully uninstalled from the old server. |
Now login to the new AADC server again and run
Azure AD Connect to disable staging mode.
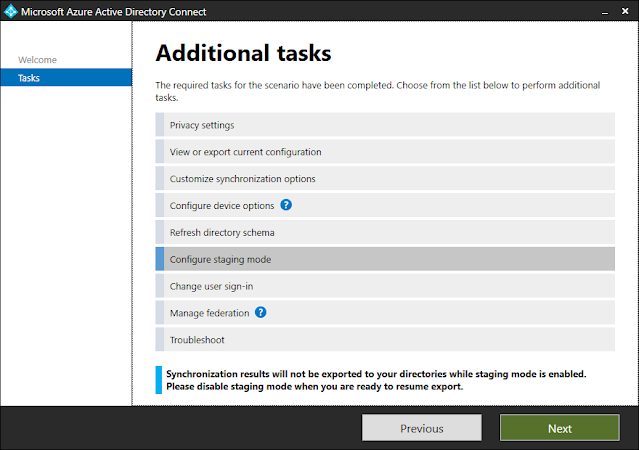 |
| Select Configure Staging Mode and click Next. |
 |
| Enter the tenant credentials for an admin who has Hybrid Identity Administrator or Global Admin rights. |
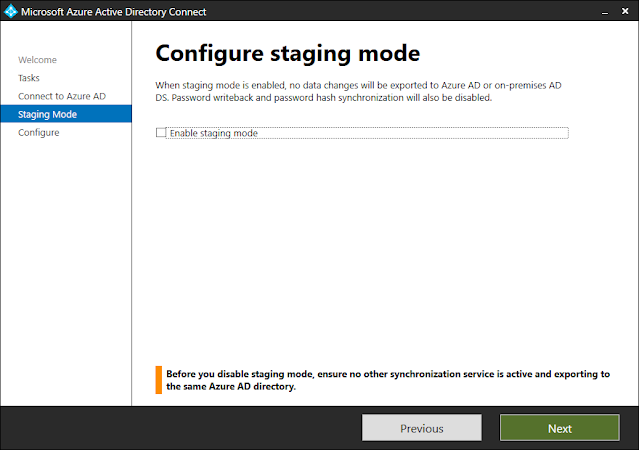 |
| Clear the checkbox to Enable staging mode and click Next. |
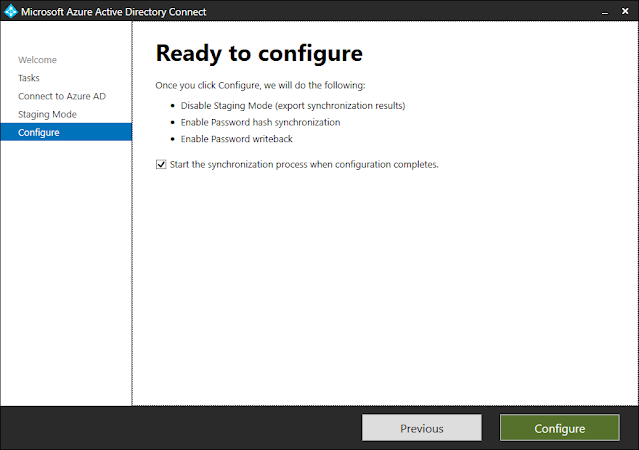 |
| Click Configure to disable staging mode and start the sync process. |
 |
| Click Exit. The migration to the new AAD Connect server is now complete! |
The final step is to delete the old
MSOL_<guid> user account from Active Directory. You will find one MSOL_<guid> user account for each AADC installation. Uninstalling AADC does not remove the old account from AD.
Using Active Directory Users and Computers, find the MSOL accounts. They will be normally in the Users container by default. Examine the Description which will tell you which computer created each account.
 |
| Delete the MSOL_<guid> account that was created by the old AADC server. |


No comments:
Post a Comment
Thank you for your comment! It is my hope that you find the information here useful. Let others know if this post helped you out, or if you have a comment or further information.